
Virtual Terminal (MOTO)
If you want to get access to all IXOPAY platform features you need to upgrade your plan. Please contact our Support Team in the IXOPAY Customer Experience Portal for more information.
The IXOPAY platform Virtual Terminal enables businesses to deal and accept card-not-present Transactions for which the card holder is not physically present. This kind of Transaction is commonly used for payment orders made via mail or telephone (MOTO - Mail Order / Telephone Order).
In order to be able to create a MOTO transaction using the Virtual Terminal, make sure the Connector processing the transaction is configured to be Available on Terminal (see Create and Assign Connectors & Adapters)
In order to use the IXOPAY platform Virtual Terminal navigate to the Virtual Terminal section and select
- (Sub-)Tenant
- Merchant
- Connector
to be used to initiate a new transaction and click Virtual Terminal. Fill in the necessary parameters for the schedule to be created in the Virtual Terminal Form :
- Transaction
- Payment Details (optional)
- Additional Transaction Data
- Start Schedule
- Customer
- Credit Card
- Additional Customer Data
- Customer Billing Data
- Customer Shipping Data
- Item
Click Reset Form to reset the form and enter different values or Choose another Connector to get back to the (Sub-)Tenant, Merchant, Connector selection page.
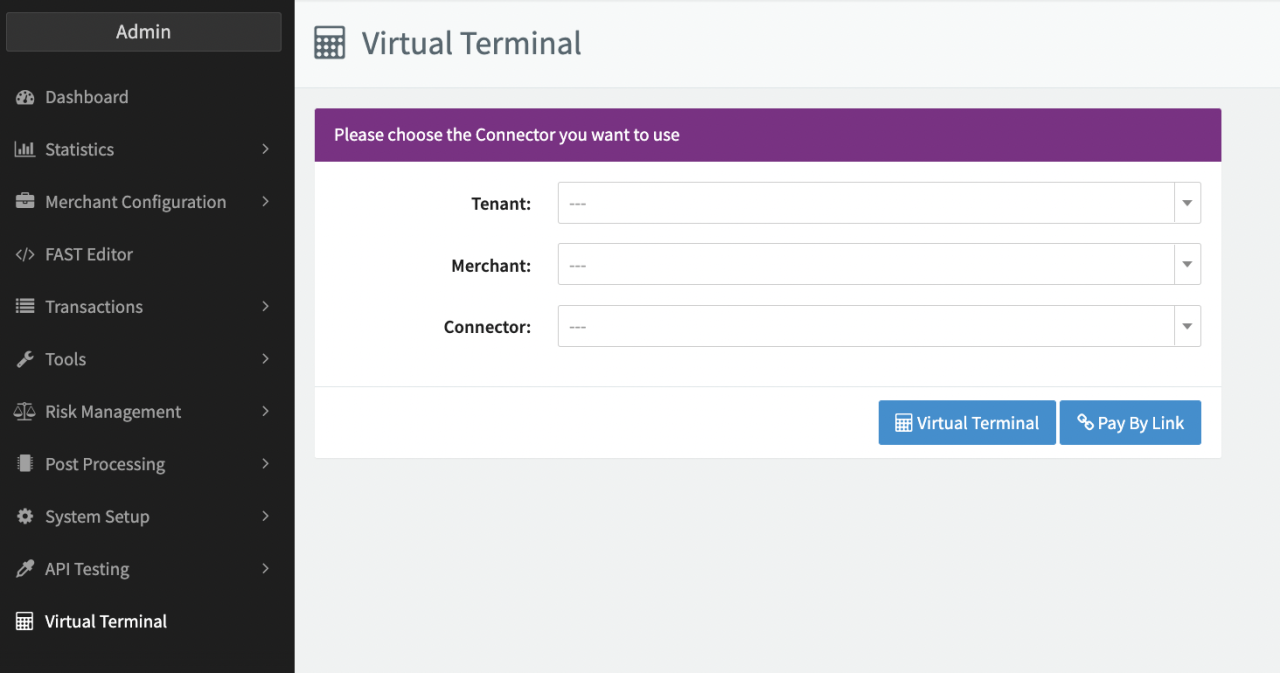 Virtual Terminal
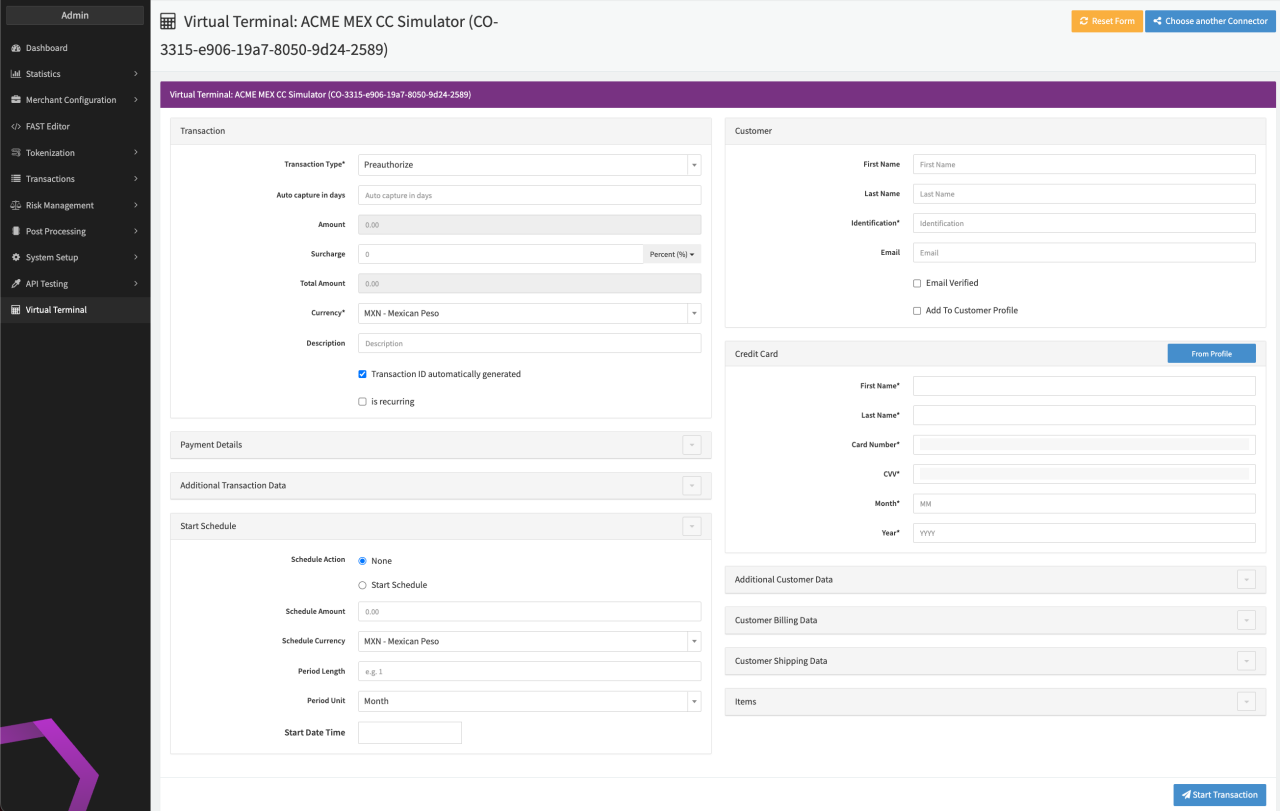 Virtual Terminal Form (Surcharge Calculation enabled)
Pay By Link is a feature also available in IXOPAY platform’s Virtual Terminal. For more information have a look in the Pay By Link section
Transaction
In this section you can configure Transaction Details (see Transaction Table).
Note: Depending on your setup you can optionally enter a Surcharge manually or use the Fee Management to calculate it automatically. If applicable, you can also add the automatic GST calculation.
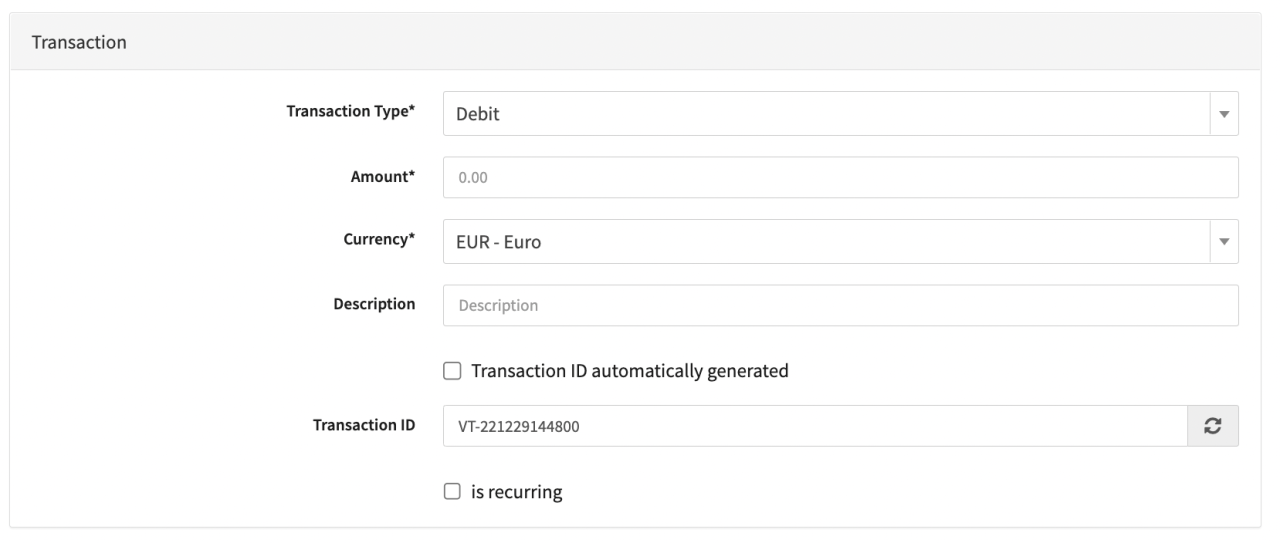 Transaction ID automatically generated
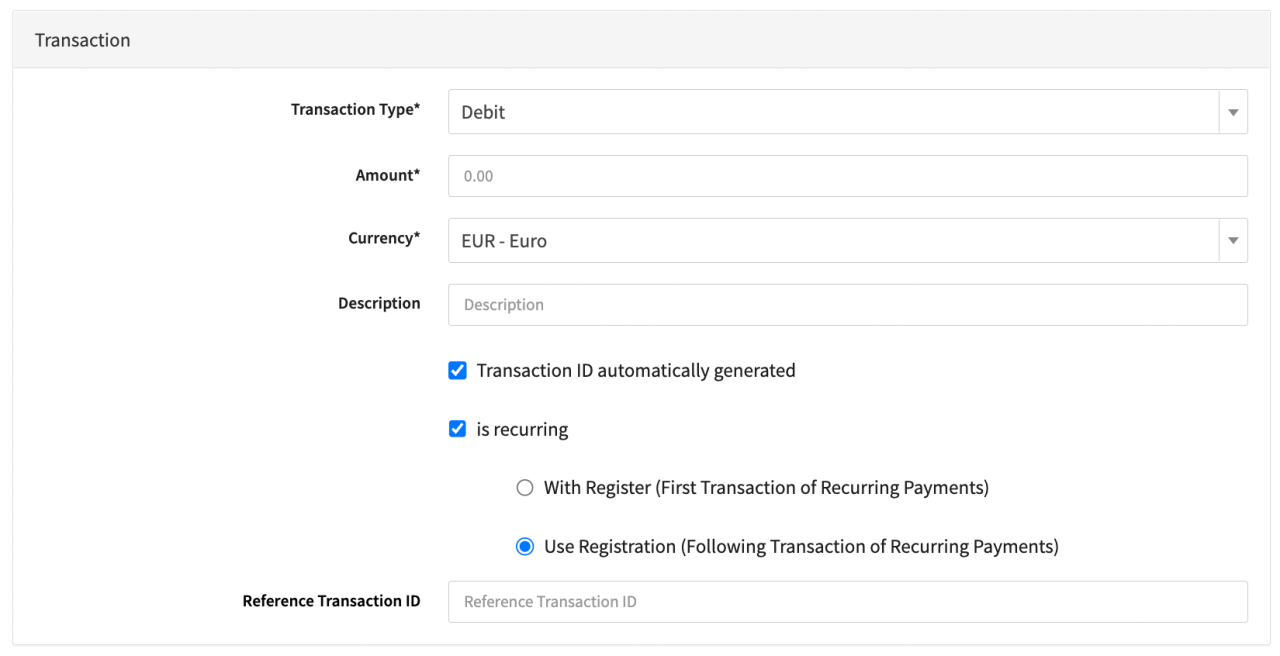 Is Recurring
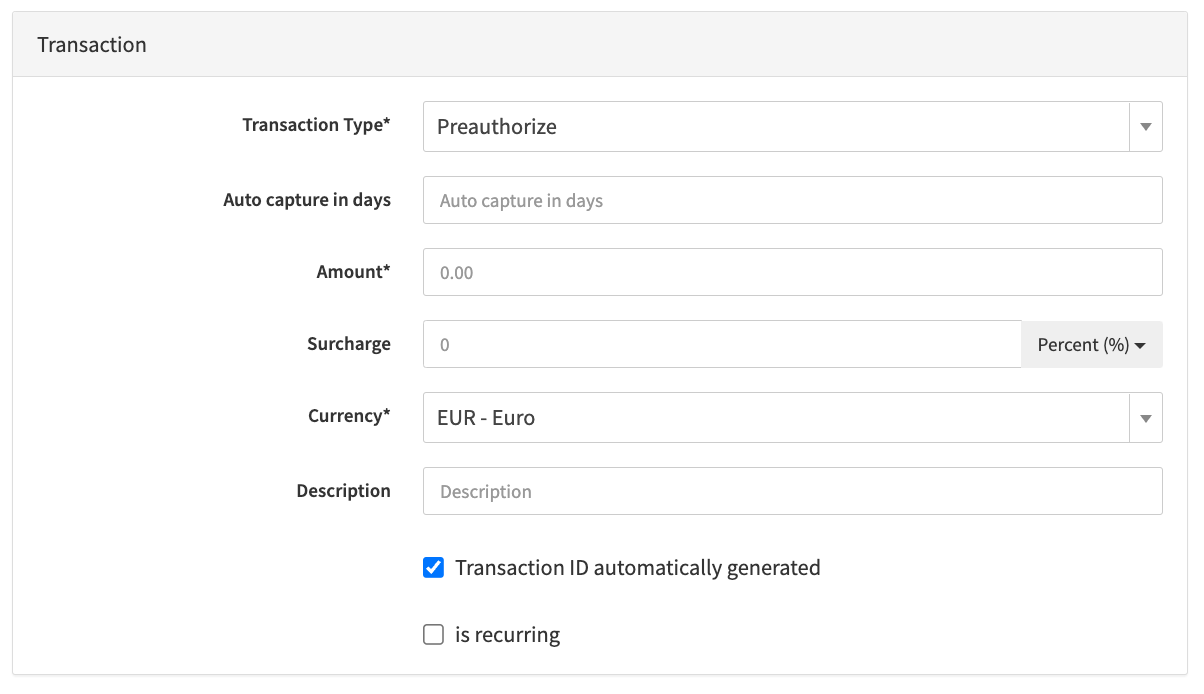 Preauthorize
Payment Details (optional)
In this section you can configure Payment Details, such as Account Number and up to 8 different Invoice numbers and related Amounts. The Amounts will be summed up to a Subtotal and used for Surcharge (if enabled) and Amount Calculation in the Transaction section. Account Number and Invoice numbers are added to the Merchant Meta Data.
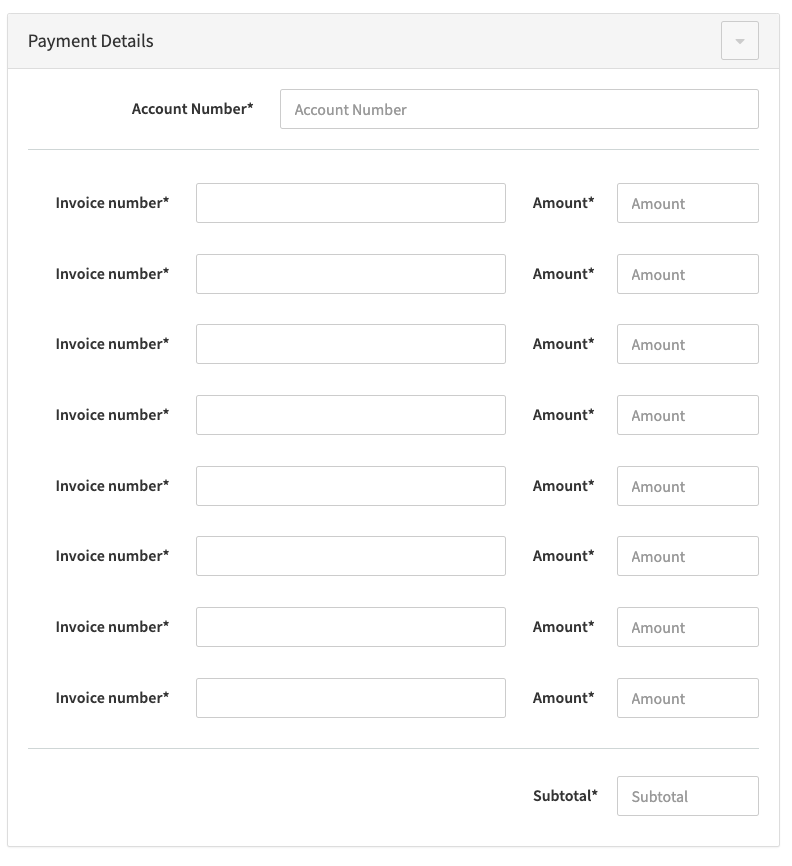 Payment Details
Additional Transaction Data
In this section you can fill in the Additional Transaction Data (optional) regarding the Transaction (see Additional Transaction Data Table).
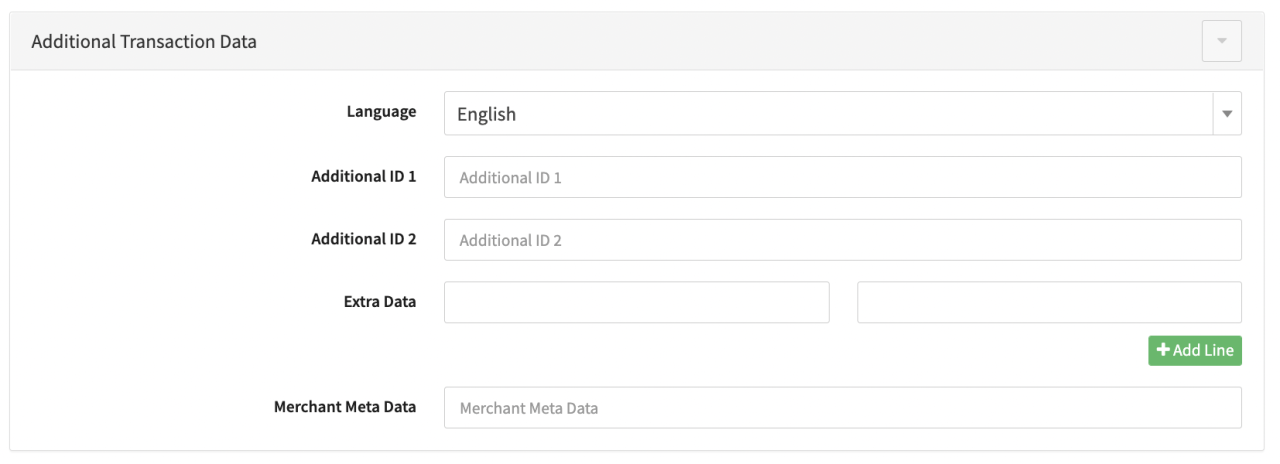 Additional Transaction Data
Start Schedule
In this section you can fill in the Details regarding a Transaction Schedule (see Start ScheduleTable).
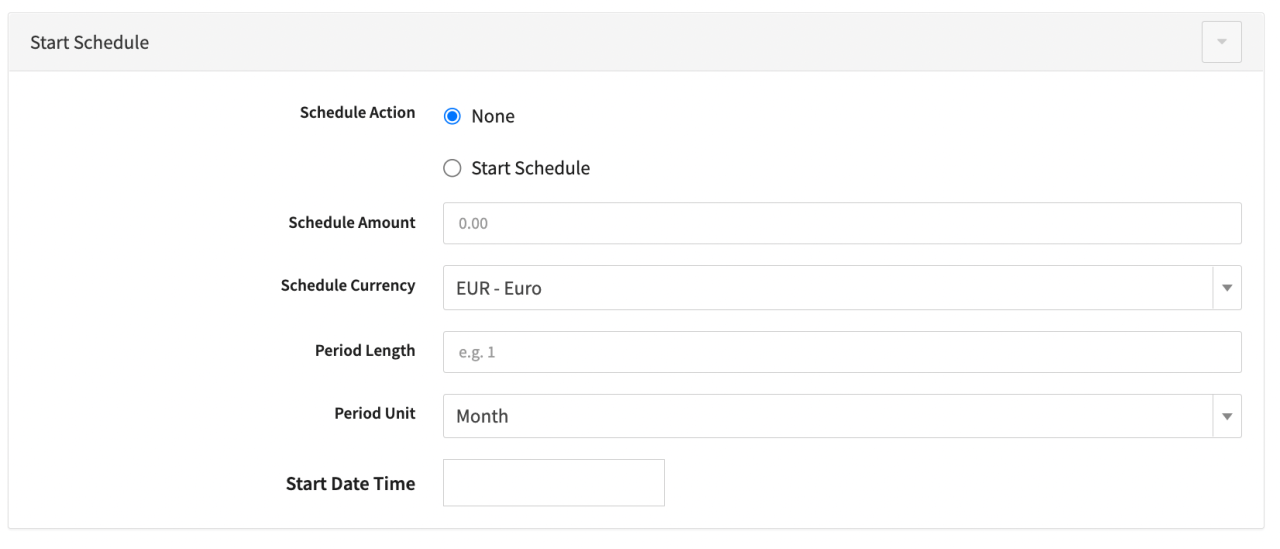 Start Schedule
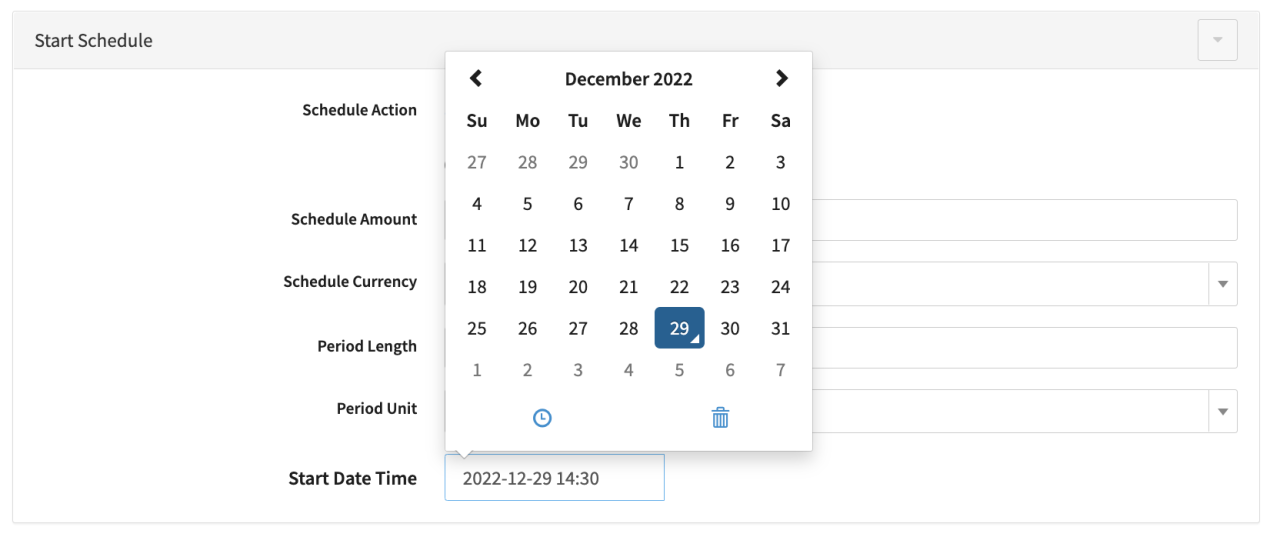 Start Date Time
Customer
In this section you can fill in Customer Details regarding the Transaction (see Customer Table).
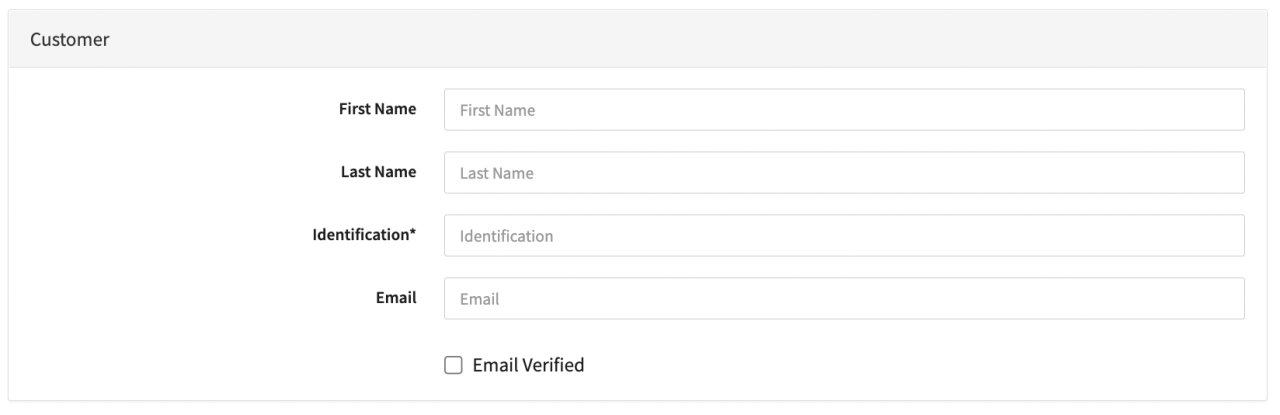 Customer
Credit Card
In this section you can fill in the credit card Details used for the Transaction (see Creditcard Table).
There is also the option to load credit card details from a customer profile using the option From Profile and entering either a Customer Profile GUID or Customer Identification.
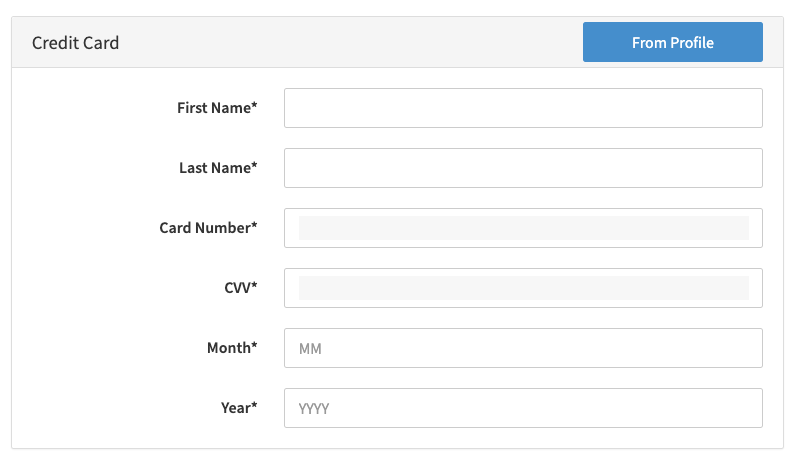 Credit card
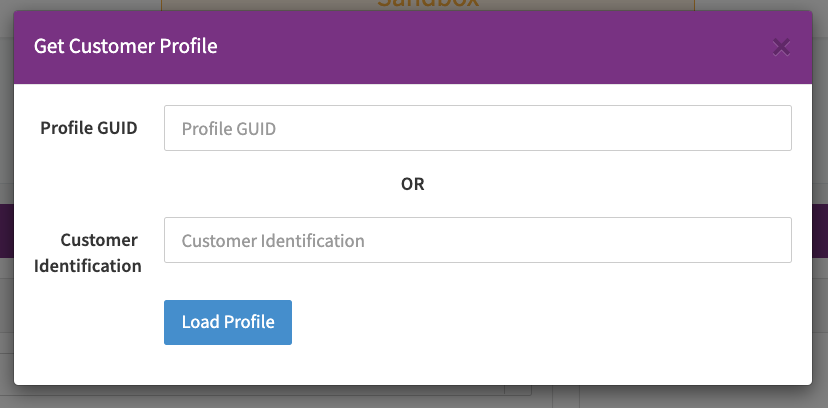 From Profile
Additional Customer Data
In this section you can fill in additional optional Customer Details (see Additional Customer Data Table).
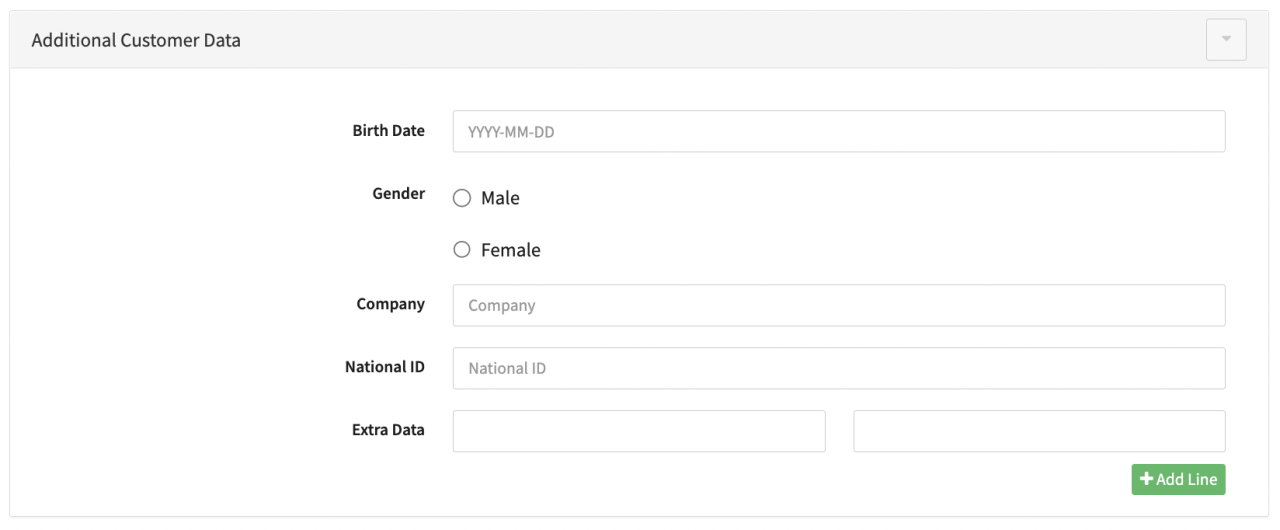 Additional Customer Data
Customer Billing Data
In this section you can fill in additional optional Customer Billing Details (see Customer Billing Data Table).
Customer Shipping Data
In this section you can fill in additional optional Customer Shipping Details (see Customer Shipping Data Table).
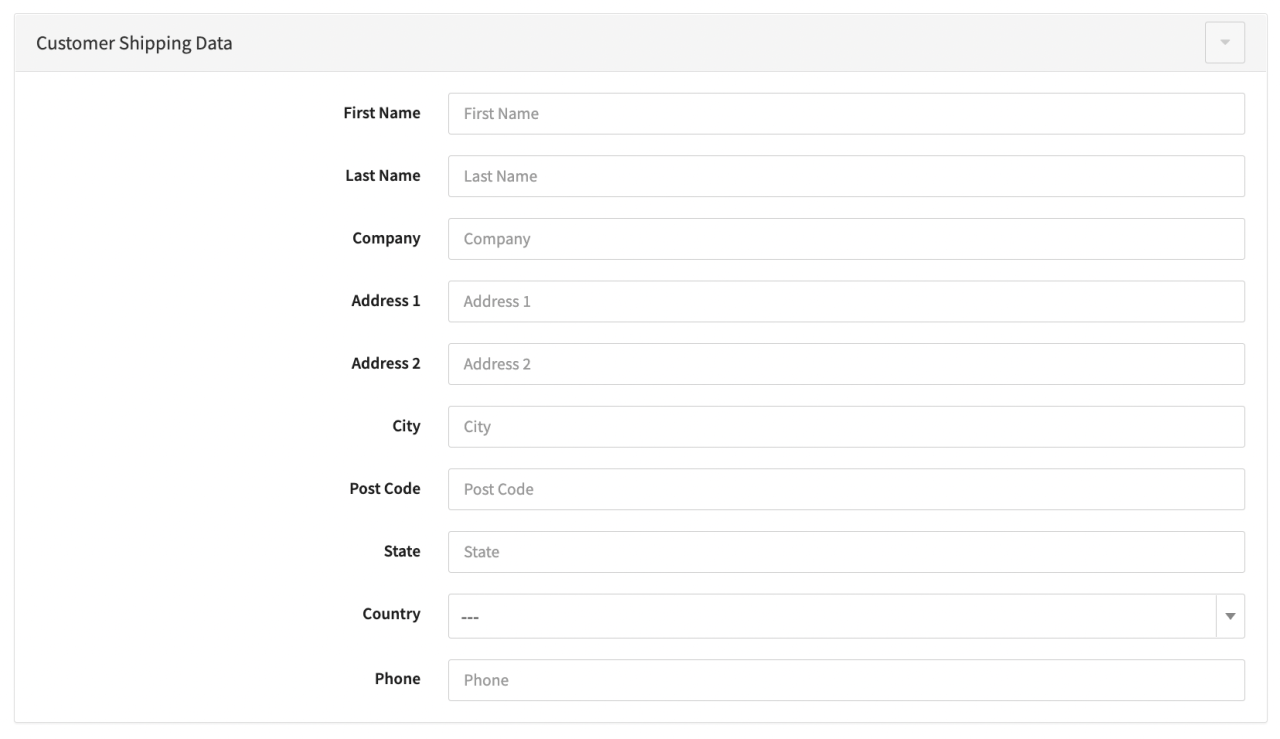 Customer Shipping Data
Item
In this section you can fill in additional details about Items (see Items Table). Click +Add Item to add additional items.
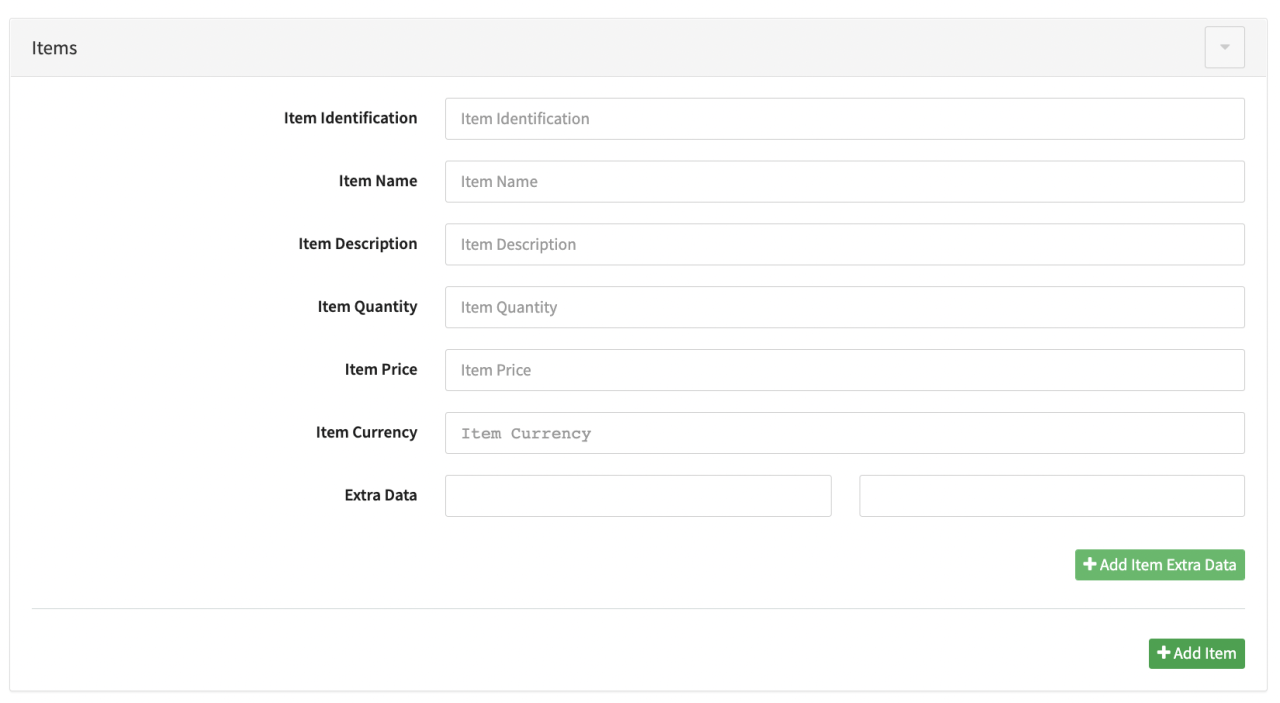 Items
Items
Create the Transaction by clicking Start Transaction in the Virtual Terminal Form. A confirmation with the (Reference) Transaction ID will be shown and the transaction will appear in the Transaction Overview.
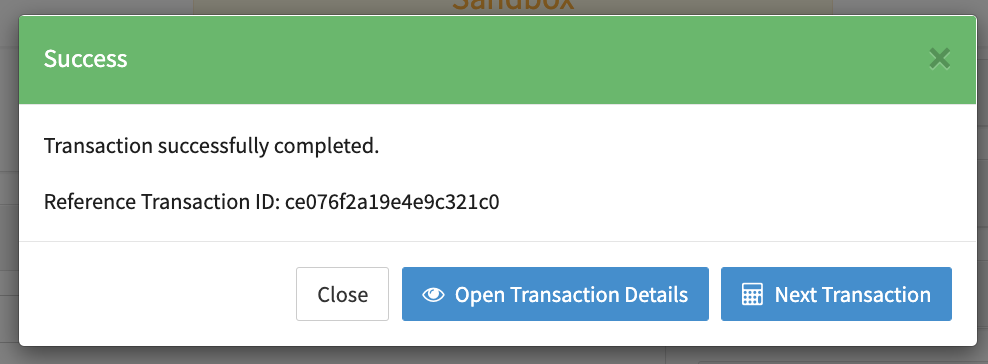 Confirmation
To trigger Postback notification for Virtual Terminal Transactions you can define a static notification URL as a Connector Setting (Virtual Terminal Notification URL).